


props : properties의 줄임마로, 부모 컴포넌트로부터 전달된 속성값 또는 상속받은 속성값을 말함.
부모 컴포넌트에서 자식 컴포넌트의 props를 설정하면 자식 컴포넌트에서는 해당 props를 사용할 수 있고, 수정은 부모 컴포넌트에서만 가능하다.
props 전달, 사용
App.js
import React from 'react';
import {Text, View} from 'react-native';
import MyButton from './components/MyButton';

const App = () => {
    return (
        <View
            style={{
                flex: 1,
                backgroundColor: '#fff',
                alignItems: 'center',
                justifyContent: 'center',
            }}
        >
            <Text
                style={{
                    fontSize: 30,
                    marginBottom: 10,
                }}
            >
                Props
            </Text>
            //App컴포넌트에서 MyButton 컴포넌트를 호출할 때 title 속성에 Button이라는 문자열을 전달
            <MyButton title='Button' />
        </View>
    );
};

export default App;
MyButton.js
//리액트를 불러와서 사용할 수 있게 해줌(JSX는 React.createElement를 호출 하는 코드로 컴파일 되므로 반드시 작성)
import React from 'react';
//리액트 네이티브에서 제공되는 Pressable, Text 컴포넌트 추가
import{TouchableOpacity, Text} from 'react-native';

//Pressable 컴포넌틀르 사용해서 클릭에 대해 상호작용 할 수 있도록함.
//버튼에 내용표시하기위해 text컴포넌트 사용
//MyButton에서 부모로부터 전달된 props를 함수의 파라미터로 받음
const MyButton = props => {
	/*
    	console.log(porps);
        결과:
        Object { "title": "Button", }
    */
    return (
        <TouchableOpacity
            style={{
                backgroundColor: '#3498db',
                padding: 16,
                margin: 10,
                borderRaduis: 8,
            }}
            onPress={() => alert('click')}
        >
        	//props.title로 title값 읽어서 출력
            <Text style={{color: 'white', fotSize: 24}}>{props.title}</Text>
        </TouchableOpacity>
    );
};

export default MyButton;
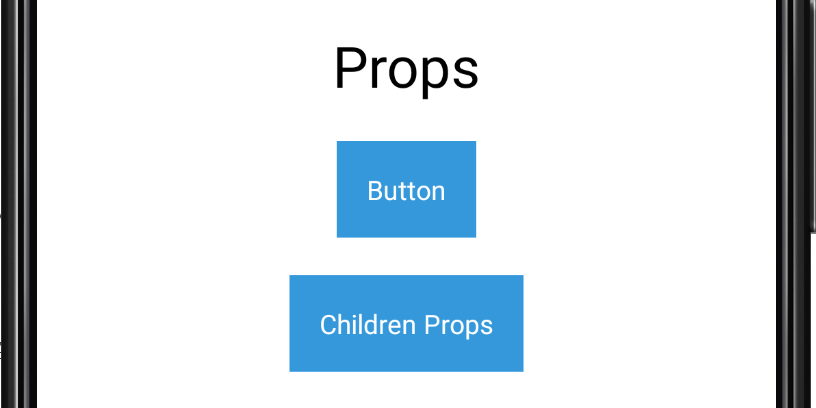
MyButton의 이름이 props.title로 읽어들여 Button으로 되었다.
컴포넌트의 태그 사이에 값을 입력하여 전달할 수도 있다.
App.js
===============================================================
import React from 'react';
import {Text, View} from 'react-native';
import MyButton from './components/MyButton';

const App = () => {
    return (
        <View
            style={{
                flex: 1,
                backgroundColor: '#fff',
                alignItems: 'center',
                justifyContent: 'center',
            }}
        >
            <Text style={{ fontSize: 30, marginBottom: 10, }}>
                Props
            </Text>
            <MyButton title="Button" />
            <MyButton title="Button">Children Props</MyButton> =>태그사이에 전달된 값은 자식 컴포넌트의 props의 children으로 전달됨
        </View>
    );
};

export default App;


MyButton.js
===============================================================
//리액트를 불러와서 사용할 수 있게 해줌(JSX는 React.createElement를 호출 하는 코드로 컴파일 되므로 반드시 작성)
import React from 'react';
//리액트 네이티브에서 제공되는 Pressable, Text 컴포넌트 추가
import{TouchableOpacity, Text} from 'react-native';

//Pressable 컴포넌틀르 사용해서 클릭에 대해 상호작용 할 수 있도록함.
//버튼에 내용표시하기위해 text컴포넌트 사용
const MyButton = props => {
    return (
        <TouchableOpacity
            style={{
                backgroundColor: '#3498db',
                padding: 16,
                margin: 10,
                borderRaduis: 8,
            }}
            onPress={() => alert('click')}
        >
            <Text style={{color: 'white', fotSize: 24}}>
                {props.children || props.title}
                </Text>
        </TouchableOpacity>
    );
};

export default MyButton;
props에 children이 있다면 title보다 우선시 되도록 작성
defaultProps
App.js에
버튼을 추가하고 아무런 값을 넘겨주지 않으면
<MyButton />
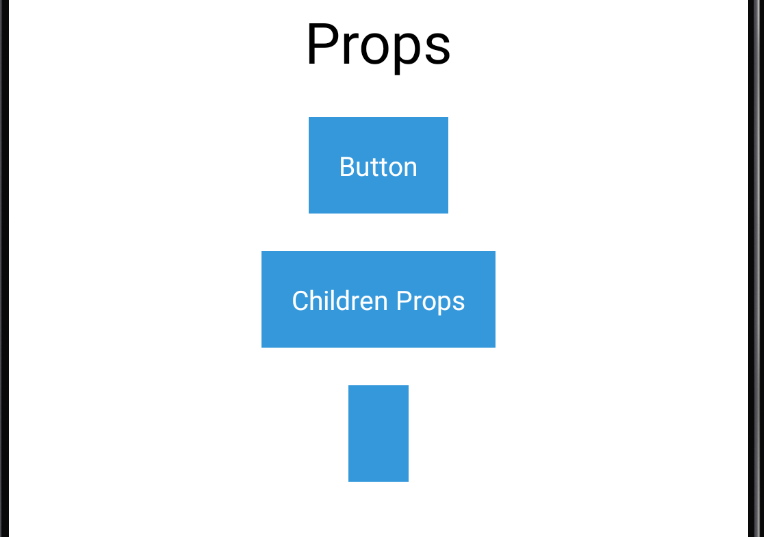
아무 표시가 되지 않는다.
이러한 일을 방지하기 위해(반드시 전달되어야하는 값이 전달되게 설정)
MyButton.js에
MyButton.defaultProps = {
title: 'Button',
};
를 추가하면
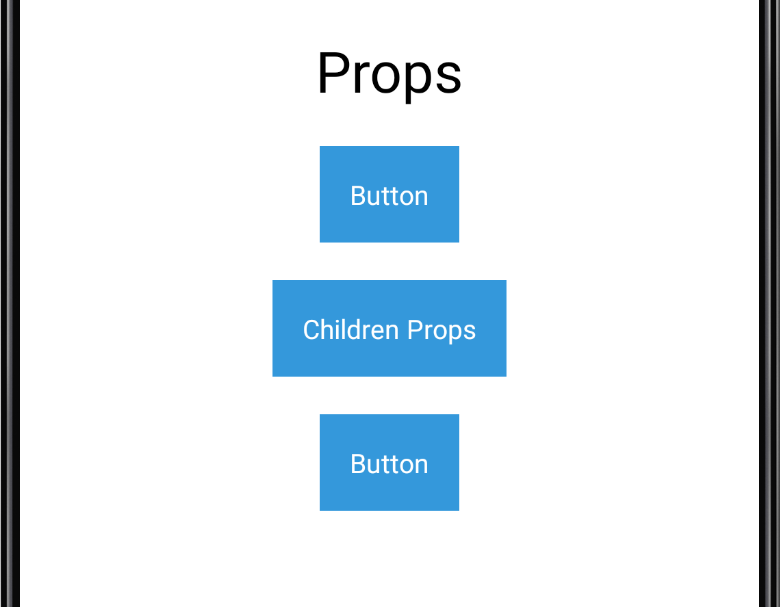
MyButton 컴포넌트의 defaultProps 덕분에 기본으로 설정한 Button이 전달되었다.
propTypes
컴포넌트에 props를 전달할 때 잘못된 타입을 전달하거나, 필수로 전달해야하는 값을 전달하지 않았을 때
잘못된 props가 전달되었다고 경고하는 방법
컴포넌트에서 전달받아야하는 props의 타입과 필수 여부를 지정할 수 있음
"npm install prop-types"
MyButton.js

MyButton.propTypes = {
	title: PropTypes.number,
};
title에 전달되어야 하는 값이 number라고 지정함
따라서 이전과 같이 String을 전달할 시 경고 메시지가 나타난다.
필수전달여부 => 선언된 타입 뒤에 isRequired만 붙여주면 된다.
MyButton.js

MyButton.propTypes = {
	title: PropTypes.string.isRequired,
    	name: PropTypes.string.isREquired,
};
App.js 에서 name을 전달해주지 않았으므로 에러가 발생하게 된다.
함수, 객체, 배열 등의 다양한 타입도 지정할 수 있다.
ex) onPress 필수로 지정
MyButton.js

MyButton.propTypes = {
	title: PropTypes.string.isRequired,
    	onPress: PropTypes.func.isRequired,
};
App.js
...
<MyButton title="Button" onPress={()=> alert("Click)}/>
<MyButton title="Button onPress={()=> alert("Click)}">
Children Props
</MyButton>
<MyButton onPress={()=> alert("Click)}/>
....
useState
-State
컴포넌트 내부에서 생성되고 값을 변경할 수 있다.
이를 이용하여 컴포넌트 상태를 관리한다.
state : 컴포넌트에서 변화할 수 있는 값 ( 상태가 변하면 컴포넌트는 리렌더링 된다.)
useState는 상태를 관리하는 변수, 그 변수를 변경할 수 있는 setter 함수를 배열로 반환한다.
const [state, setState] = useState(initialState);
상태변수 state는 useState 함수에서 반환한 setter함수를 이용하여 변경하여야한다.
호출시 파라미터로 상태의 초기값을 전달한다.
(초기값을 전달하지 않으면 undefined로 설정되어 에러가 발생)
./src/component/Counter.js
import React, {useState} from 'react';
import { View, Text } from 'react-native';
import MyButton from './MyButton';

const Counter = () => {
    const [count, setCount] = useState(0);
    return (
        <View style={{ alignItems: 'center'}}>
            <Text style={{fontSize: 30, margin: 10}}>{count}</Text>
            <MyButton title = '+1' onPress={() => setCount(count + 1)} />
            <MyButton title = "-1" onPress={() => setCount(count - 1)} />
        </View>
    )
}
import React from 'react';
import {View} from 'react-native';
import Counter from './components/Counter';

const App = () => {
    return (
        <View
            style={{
                flex: 1,
                backgroundColor: '#fff',
                alignItems: 'center',
                justifyContent: 'center',
            }}
        >

            <counter /> <=counter 컴포넌트 추가

        </View>
    );
};


export default App;
'공부 > 리액트 네이티브' 카테고리의 다른 글
| 리액트 네이티브 - 이벤트 (0) | 2021.05.06 |
|---|---|
| 리액트 네이티브 - props (0) | 2021.05.06 |
| 리액트 네이티브 - button 컴포넌트 (0) | 2021.05.06 |
| 리액트 네이티브 - jsx (0) | 2021.05.06 |
| 리액트 네이티브 (0) | 2021.05.02 |

아상관없어